
Jun 30, 2025

Pratyus Patnaik
Cursor is a powerful AI-native coding environment that supports direct integration with Model Context Protocol (MCP) servers. This setup allows you to inject real-time, relevant context from tools like GitHub, Jira, and Asana directly into your AI workflows within Cursor. It also enables dynamic access to codebases, tasks, and system data, enhancing your developer productivity with high-fidelity contextual understanding.
This step-by-step guide will walk you through three methods for integrating Claude Desktop with an MCP server using three examples: GitHub, Asana, and Datadog.
MCP Server Types Supported
Cursor supports the following types of MCP servers:
Local Stdio: Runs on your machine and streams responses via standard input/output (stdio).
Streamable HTTP: The server operates as an independent process that can handle multiple client connections
Step 1: Enable MCP in Cursor IDE
Open the Cursor editor.
Press Cmd/Ctrl + Shift + P to open the Command Palette.
Search for and select "Cursor Settings".
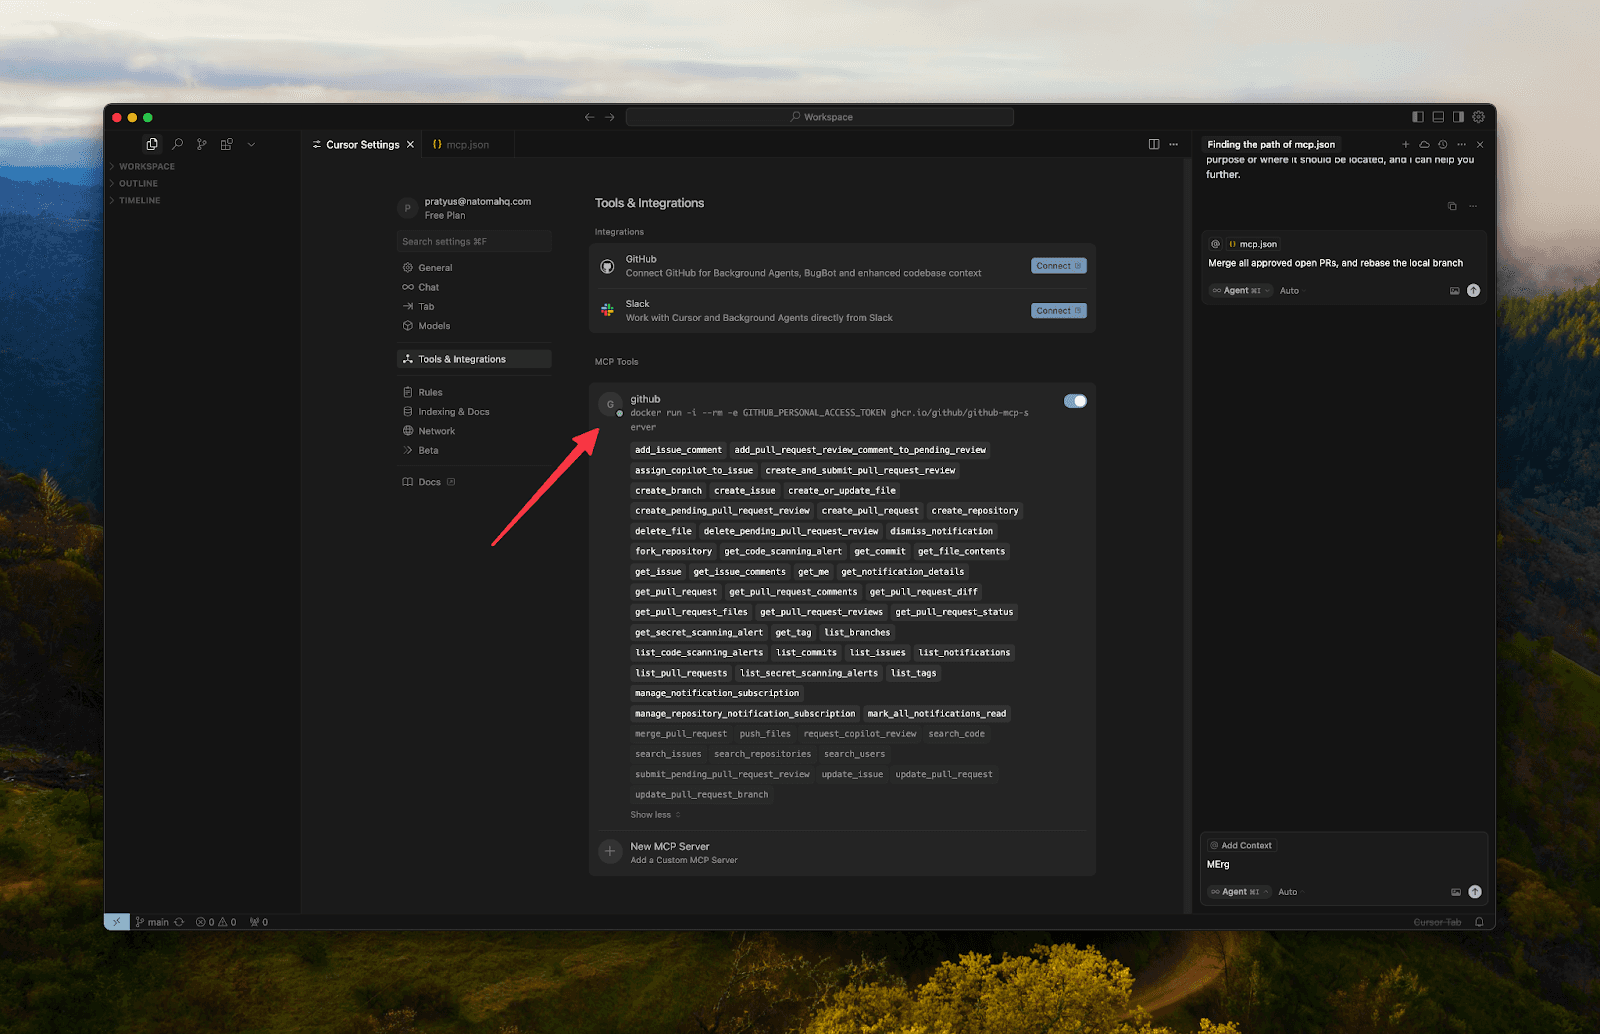
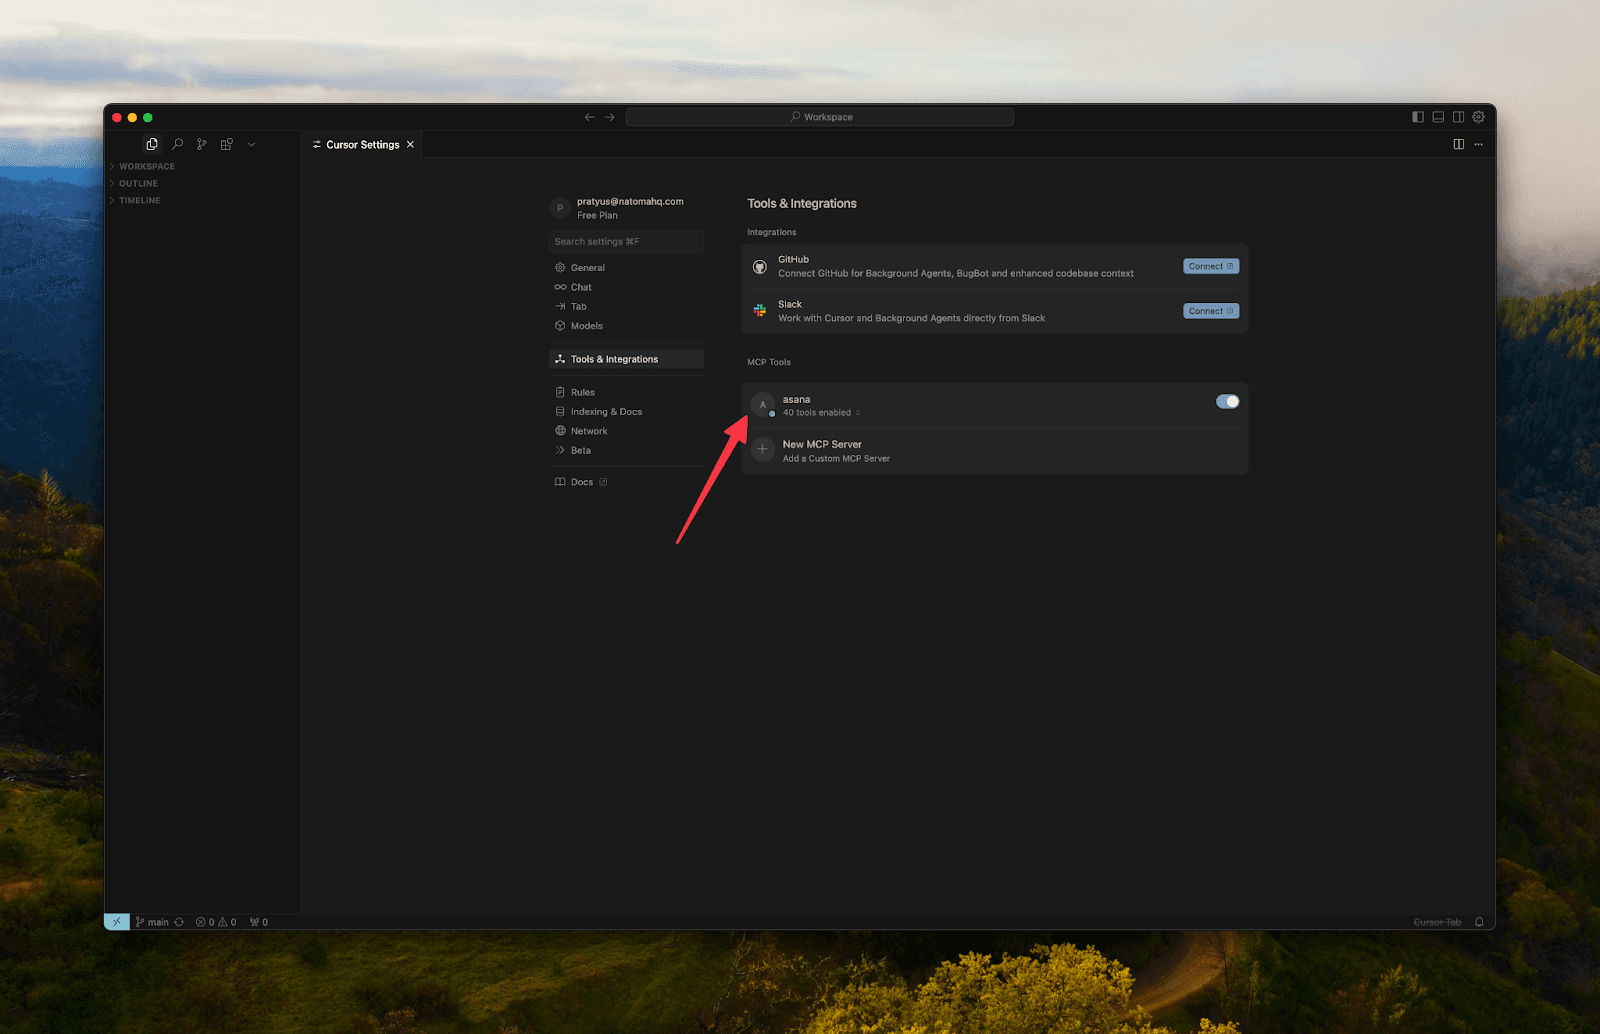
Click Tools & Integrations
Click Add Custom MCP

This will create or open the config file at one of the following paths:
Add or modify your configuration as shown in the examples below.
Step 2: Choose Your MCP Server Setup
Claude Desktop requires an MCP-compliant server that can respond to context queries. You have three setup options:
Option A: Run the MCP Server Locally
Ideal for development, testing, and debugging.
Instructions:
Install Docker.
Ensure Docker is running.
If you encounter issues pulling the image, try running `docker logout ghcr.io` to refresh your credentials.
Create a GitHub Personal Access Token.
Choose permissions based on what you’re comfortable sharing with the LLM.
Learn more in the GitHub documentation.
Config Example:
Save and restart Cursor
Option B: Use a Hosted MCP Server (e.g., Asana, Atlassian)
The easiest option—no setup required. Note that you won’t have central control or visibility into interactions between Claude and the integrated service.
Method 1: Via UI
Navigate to the following deeplink in your browser
Name is application name
Config is base64 encode of {"url":"https://mcp.asana.com/mcp"}

Method 2: Via Config
Install the `mcp-remote` package.
Config Example:
Save and restart Cursor
Option C: Deploy Your Own Remote MCP Server
Recommended for teams and production use. This setup offers:
Full visibility and governance
Access control across employees and agents
You can deploy your MCP server using a platform like Natoma. Connect apps from the registry, and retrieve the configuration

or Streamable HTTP endpoint, and paste it into Cursor IDE by navigating to the following deeplink in your browser
Name is application name
Config is base64 encode of {"url":"https://mcp.natoma.app/sse"}

Restart Cursor

Troubleshooting & Testing
To verify MCP integration:
Ask Cursor a question that requires context from recent activity.
Cursor will send a background request to the MCP server, which returns structured context.
Monitor Cursor MCP logs at
Press Cmd/Ctrl + Shift + P to open the Command Palette.
Search for and select "Developer: Show Logs..".
Click MCP Logs
Ensure your MCP server responds with valid JSON in the correct schema.
Use the MCP Inspector for debugging.
Wrap-Up
Integrating Cursor with an MCP server—whether self-hosted, remote, or SaaS—takes just a few minutes. This unlocks powerful contextual capabilities, allowing you to embed the full history, structure, and semantics of your dev stack into every AI interaction.